
How to Set Up Your UHF Wireless Microphone System
Share
Setting Up Your UHF Wireless Microphone Made Easy
A UHF wireless microphone is a popular choice for those who want freedom of movement and clear audio without worrying about tangled cables. Whether you're using it for karaoke, public speaking, events, or content creation, setting it up correctly ensures optimal performance.
Here’s a quick and practical guide to help you get started.
Step 1: Unpack and Identify Your Components
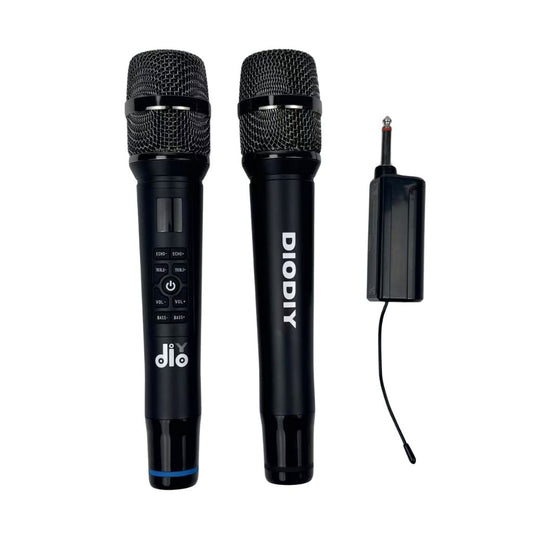
Most UHF wireless microphone systems include:
- 1 or 2 wireless handheld microphones
- A UHF receiver (often with an adjustable plug or antenna)
- An audio adapter (e.g., 6.35mm to 3.5mm) for wider device compatibility
- A user manual
- Rechargeable or replaceable batteries
Double-check that all components are present and undamaged.
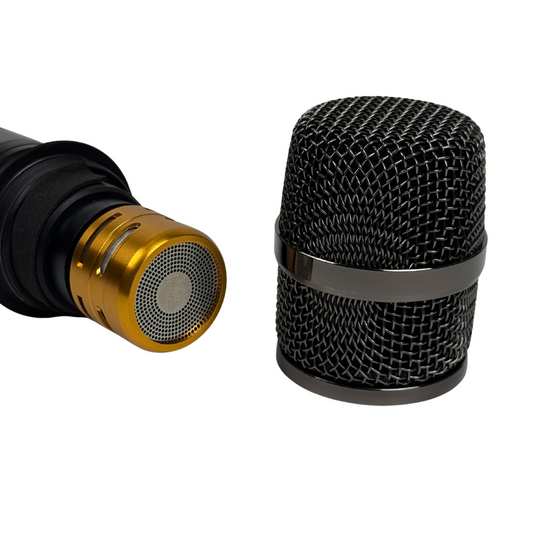
Step 2: Power the Microphones
Insert batteries into each microphone. If your system uses rechargeable microphones, fully charge them before first use. A good wireless microphone system offers up to 6–10 hours of use on a single charge—ideal for extended karaoke sessions or events.
Step 3: Connect the UHF Receiver to Your Audio System
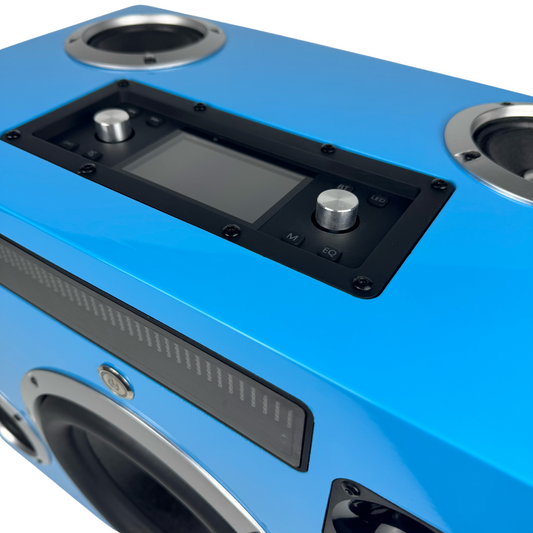
Plug the UHF receiver into your speaker, mixer, or amplifier. Many modern receivers come with a turnable plug that rotates up to 180 degrees, allowing you to adapt to different audio input placements without stressing the port.
If needed, use the included adapter to switch between 6.35mm and 3.5mm input jacks—making the system compatible with both professional speakers and home-use Bluetooth speakers with AUX ports.
Step 4: Sync and Test the Microphones
Turn on the microphones and the receiver. Most UHF systems auto-pair on the same frequency, but others may require manual syncing. Once connected:
- Tap the microphone gently to check the audio signal
- Adjust volume or EQ on your speaker or mixer
- Walk around the space to ensure a strong signal is maintained
The UHF wireless microphone operates within a higher frequency range, offering longer range (typically 30–50 feet) and stronger resistance to interference compared to VHF models.
Step 5: Troubleshooting Common Issues
- No Sound? Check power, pairing, or whether the receiver is properly connected.
- Distortion or Static? Try changing to a different UHF channel if your system allows it.
- Low Volume? Adjust the microphone gain or the speaker’s input settings.
Conclusion: Quick Setup, Clear Sound
With no need for cables, a UHF wireless microphone system is easy to set up and perfect for hassle-free audio experiences. Just plug in the receiver, turn on the mics, and you’re ready to perform, sing, or speak clearly—with freedom to move.
Looking for a quality UHF mic system with easy setup and professional sound? Browse our wireless microphone collection now.